This tutorial will explain how to install VMware Tools in Kali Linux. This is a almost necessary install, as VMware Tools makes your life much easier in many aspects. This tutorial assumes that you already have installed Kali Linux in VMware Player or Workstation. If this is not the case, then follow my other tutorial here on how to do that.
Step One:
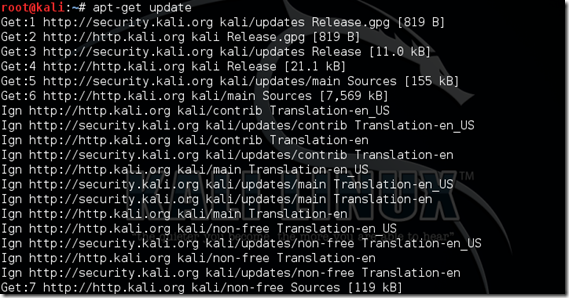
Open a Terminal and type apt-get update
The Terminal should then be filled with text similar to this after executing this command:
If your Terminal looks like this after executing this command:
Then you’ll need to add official Kali Linux repositories. Follow this guide on how to do that.
Step Two:
Now you need to install Kali Linux headers. Type this command:
apt-get install -y linux-headers-$(uname -r)
If you get an error after executing the above command, then you’ll need to update the Kali Linux repositories. Go here to do that.
Step Three:
After Kali Linux has completed installing the headers, and you are presented with the root@kali prefix again, type this into the Terminal to install VMware Tools:
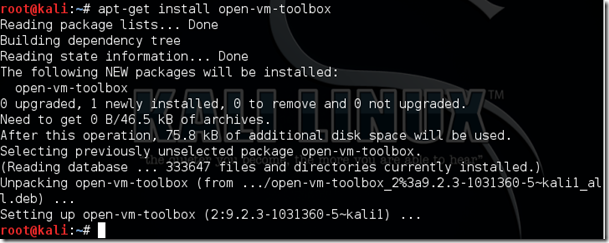
apt-get install open-vm-toolbox
Kali Linux should install VMware Tools, and you’re Terminal should look like this:
Step Four:
Now reboot Kali Linux by typing reboot in the Terminal.
After Kali Linux restarts, you should be able to adjust the size of the screen fluently, and copy files/text from Kali to your main OS, and from your main OS to Kali.
Thank you for using our tutorial!


Comments
Post a Comment